



Home page >> Product display >> Bend testing machine >> Stone bending test machine
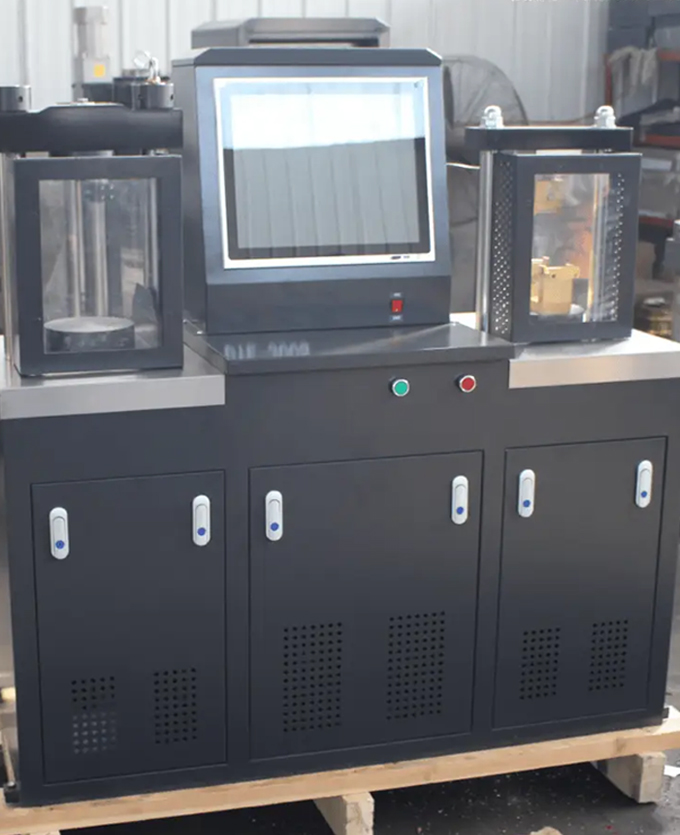
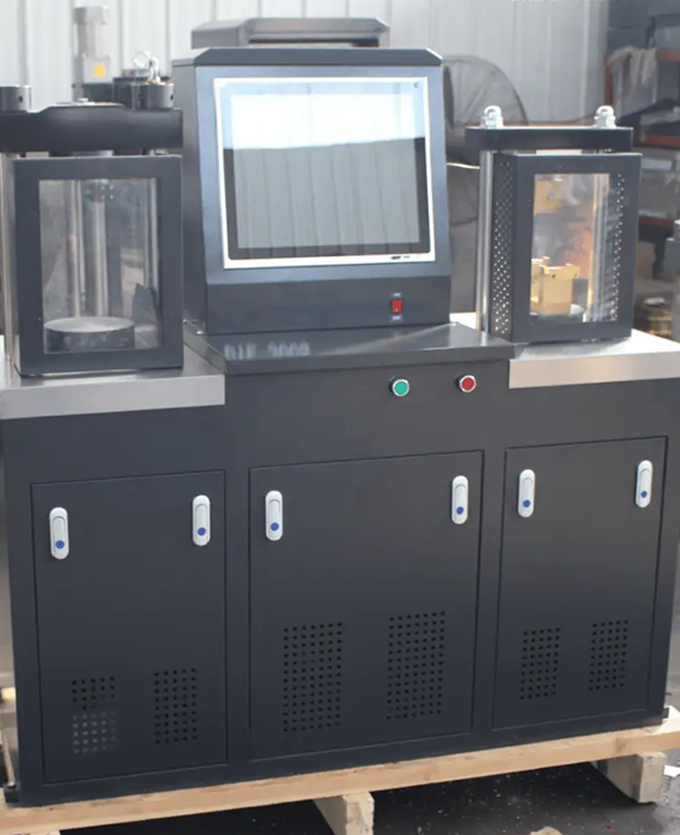
Stone anti-bending machineComply with GB/T9966.2-2001 "Test Methods for Natural Facing Stones" GB/T19766-2005 standard.Used to test the flexural strength of various clay bricks, concrete hollow bricks, cement tiles, marble and other building materials.It is driven by a speed-adjustable motor, and the motor drives the fixture to move up and down through the transmission mechanism to realize the test loading process.A fully digital closed-loop control system is used for control and measurement, and a microcomputer is used to dynamically display the test process and test curves, and perform data processing. After the test is completed, the data can be re-analyzed and edited.
1.Technical parameters
1. Maximum load: 10kN
2. Indication accuracy: ±1%
3. Accuracy level: 0.5 level
4. Screw stroke: 120mm
5. Effective force measurement range: 0.4% ~ 100% FS
6. Force measurement accuracy: within ±0.5% of the indication value
7. Testing machine resolution: load 1/±300000 yards (there are no binnings inside and outside, and the resolution remains unchanged throughout the process)
8. Effective test width: 40mm
9. Effective stretching space: 40mm
10. Test speed range: 5~200N/S
11. Sensor configuration: one main load sensor
12. Displacement measurement accuracy: within ±0.5% of the indication value
13. Test bench safety device: electronic limit protection
14. Test bench lifting device: automatic step-by-step speed control, and can be moved inching
15. Cantilever return function: automatic return, and automatically return to the initial position of the test at the set speed after the test is completed.
16. Overload protection: When the load exceeds 10%, the machine automatically protects
17. Host size: 500×200×300mm
18. Motor: 220V±10% 0.5KW
19. Host weight: (approximately) 80Kg
two, operating steps
1. Bending strength in dry state.
(1) After drying the sample in a drying oven at 105°C ± 2°C for 24 hours, place it in a desiccator and cool to room temperature.
(2) Adjust the distance between the supports under the bracket to an error within ±1.0mm.Place it between the upper and lower brackets according to the fulcrum position marked on the specimen.Under normal circumstances, the decorative surface of the sample should be in a bending and tensile state, that is, the decorative surface should be placed on the bracket support downwards.
(3) Apply a load to the sample at a rate of 1800N±50N per minute until the sample is damaged.Record the specimen failure load value (F).Accurate to 10N.
(4) Use a vernier caliper to measure the scale (K) and thickness (H) of the fracture surface of the sample, accurate to 0.1mm.
2. Bending strength in water saturated state
(1) Sample treatment: Soak the sample in clean water at 20°C ± 2°C for 48 hours, take it out, wipe off the surface moisture of the sample with a wrung wet towel, and conduct the test immediately.
(2) Adjust the distance between the bracket and the support, and the error is within ±1.0mm.Place it between the upper and lower brackets according to the fulcrum position marked on the specimen.Under normal circumstances, the decorative surface of the sample should be in a bending and tensile state, that is, the decorative surface should be placed on the bracket support downwards.
(3) Apply a load to the sample at a rate of 1800N±50N per minute until the sample is damaged.Record the specimen failure load value (F).Accurate to 10N.
(4) Use a vernier caliper to measure the scale (K) and thickness (H) of the fracture surface of the sample, accurate to 0.1mm.
3. Connect the power supply (220v power plug), turn on the knob power switch, and turn on the emergency stop switch (turn the big red mushroom head clockwise).
4. Press the ▼ button to place the specimen on the fixture.
5. Press the ▲ button to adjust the distance between the test piece and the upper pressure plate so that it is close to the test piece but not pressed.
6. Press the clear key to clear the device.
7. Press the function key, press the ↓ key, select the new test plan, and press OK.
8. Enter the parameters according to the prompts, and then confirm.
9. Press the test button to start the test.
10. After the test is completed, press ↓ to query the test results.
11. At the end of the test, turn off the power switch, unplug the power supply, and clean the fixture.