



Dental Orthodontic Spring Mechanical Testing Procedures
2026-01-23 09:51:511. Testing principle
The dental orthodontic spring tensile test mainly applies axial tensile force to the spring sample through a universal material testing machine to measure its mechanical response at different elongation rates.The test focuses on the following key performance indicators:
Maximum elongation (Emax): The maximum elongation that the spring can withstand during the stretching process as a percentage of the original length
Permanent deformation point: elongation when 1% permanent deformation occurs
Grading force value: corresponding spring force value when reaching 80%, 60%, 40% and 20% maximum elongation (L80%max, L60%max, L40%max, L20%max)
These parameters reflect the elastic performance, force stability and durability of orthodontic springs and are an important basis for evaluating their clinical applicability.
2. Implementation standards
This test strictly follows the YY/T 1703-2020/ISO 17254:2016 standard, which is equivalent to the international standard ISO 17254:2016 and is suitable for the mechanical property testing of dental orthodontic springs.The standard stipulates the environmental conditions, sample preparation requirements, measurement methods and result judgment criteria for testing to ensure the reliability and comparability of test results.
3. Test instruments and equipment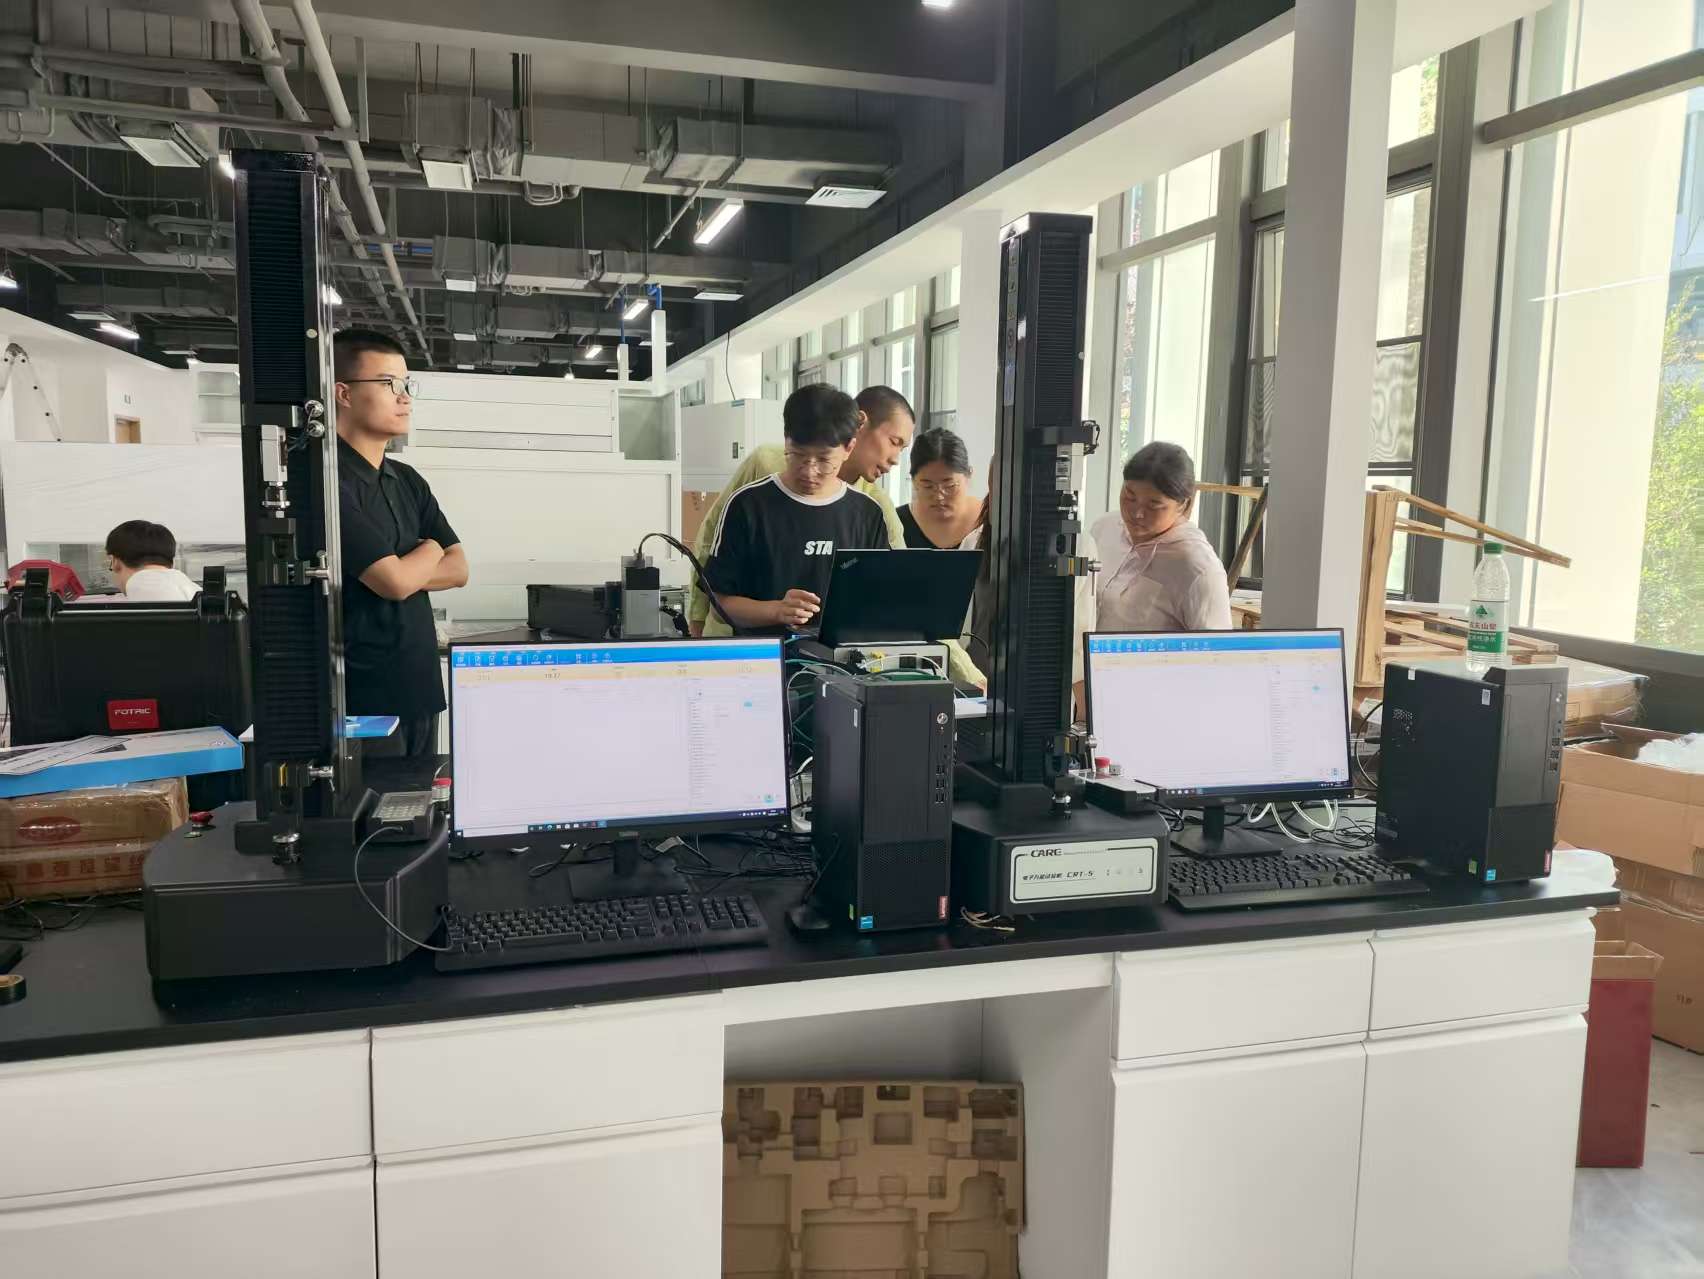
Ensure there is no unbalanced load in axial stretching
Anti-slip design on the clamping end to prevent samples from slipping
3. Measuring instruments
Caliper or micrometer with an accuracy of 0.005mm
Optical measuring instrument (optional)
4. Testing process
Step 1. Sampling and preparation
Randomly select 6 samples from the same batch of products
Check that the sample surface is free of visible defects and damage
Clean the sample surface to remove oil and impurities
Step 2. Size measurement
Use measuring instruments with an accuracy of 0.005mm to measure the following parameters:
Inner diameter(d)
Outer diameter(do)
full length(lo)
Unloaded spring length (l or le)
Measure each dimension three times, take the average, and record to the nearest 0.01mm.
Step 3. Mechanical property testing
1. Environment settings
Conventional spring: (23±2)℃
Temperature sensitive spring: (36±1)℃
Relative humidity is controlled at 50±10%
2. Device settings
Set the crosshead speed to 0.5-10.0mm/min (selected according to spring characteristics)
Calibrating force sensors and displacement sensors
Install custom fixtures
3. Sample installation
The length of the sample is (20±0.2) mm. If the length is less than 20mm, the length of the unloaded spring is taken.
Make sure the spring axis is consistent with the stretching direction
Preload 0.1N initial force to eliminate installation gap
4. Test execution
Stretch the spring uniformly at a set speed
Record force-displacement curve
The following parameters were determined:
a) Maximum elongation (Emax)
b) Spring force values at 80%, 60%, 40% and 20% maximum elongation
c) Elongation when 1% permanent deformation occurs
Step 5. Result processing and analysis
Calculate the average and standard deviation of various parameters for 6 samples
Check that all results are within the range specified by the manufacturer
Evaluate force consistency, elastic properties and permanent deformation characteristics of springs
Issue test reports, including:
a. Test conditions
b. Original data
c. Calculation results
d. Compliance determination
5. Things to note
Vibration and impact interference should be avoided during testing
Temperature-sensitive springs need to be stable in a constant temperature environment for at least 30 minutes
The permanent deformation test needs to be unloaded and left to stand for 10 minutes before measuring.
Regularly calibrate test equipment to ensure measurement accuracy
Operators need to undergo professional training and be familiar with standard requirements